I think a workflow is really important. Of course everyone agrees, but I want to go further and argue that having the right workflow at the right time could actually determine how well things works out for you in the long term and even how passionate you are about this something in the future.
Many people’s first impressions of programming is incredibly intimidating since the amount of things thrown at them is really high and the number of familiar things (software used, relatable experiences) is really low. If you’ve taken a CS class or tried to learn programming, you probably remember the experience yourself. But most importantly, when you’re first starting out, the scariest thing is trying to step outside the box of what you know to work. The average person is not only new to the language or skill they want to learn, but also new to the software and the toolchain surrounding the language/skill they’re learning. The worst experience isn’t being wrong about something, it’s not knowing when or even how you’re wrong. Those experiences aren’t tied to CS as much as they’re tied to the toolchain since great software nowadays highlights when you’re wrong or shows you how to fix runtime errors in a meaningful way. But most importantly, great software is understandable and predictable so you know what to do when something fails, and exactly how to fix it.
Workflow is also really fun since you learn how many different ways there are to do the same boring tasks.
For this reason, I want to highlight what my workflow is across a bunch of domains, and how to set some stuff up. It will also be really concentrated on the things I use a lot, and focused towards Mac users. Sidenote: Although some of the stuff may be tied to programming and good debugging skills, a lot of it are things that I think are really cool and help me work faster. Hope this helps someone!
Mac Package Management
When you first start coding, the best first thing you could ever do is download a package manager like Homebrew. Downloading software for programming languages can become really tedious, because unlike normal applications like Chrome, your computer doesn’t really check to see if you have a version of this language or compiler downloaded. More importantly, unlike your applications which usually go in a set folder (“~/Applications” for Mac), most computers give you permission to download the binaries and tools for a programming language where ever you want, which at first might sound like freedom, but can eventually become a nightmare when you have to pinpoint where it’s downloaded. Who really wants choices when you’re forced to remember the answer two years later?
Homebrew saves the day!
Homebrew is a package manager that solves this exact purpose. It downloads packages to central locations, and hides all the details. More subtly, it also links these packages to your macOS usr/local path so your terminal will immediately know this new language exists. Never write a line like export PYTHONPATH=/it/took me twenty minutes to find this in finder ever again!
Example: Downloading Python With Homebrew
- First, open Terminal and type this command into the shell to download Homebrew:
/bin/bash -c "$(curl -fsSL https://raw.githubusercontent.com/Homebrew/install/master/
install.sh)"
- When it’s done, type brew to see what happens. It should give you a list of commands.
Example usage:
  brew search [TEXT|/REGEX/]
  brew info [FORMULA...]
  brew install FORMULA...
  brew update
  brew upgrade [FORMULA...]
  brew uninstall FORMULA...
  brew list [FORMULA...]
 ...
The commands you probably care the most about are
brew install,brew list, andbrew uninstall. Everything else can usually come at a need to know basis.To install Python, simply type
brew install python. Once everything is said and done, if you type python in your shell, it should work!
Terminal
I’ve gone through a bunch of different Terminal customizations, and as I get through more of my education, I’ve started to really appreciate the set up I have now: iTerm2 + Oh My Zsh + Powerlevel10k.
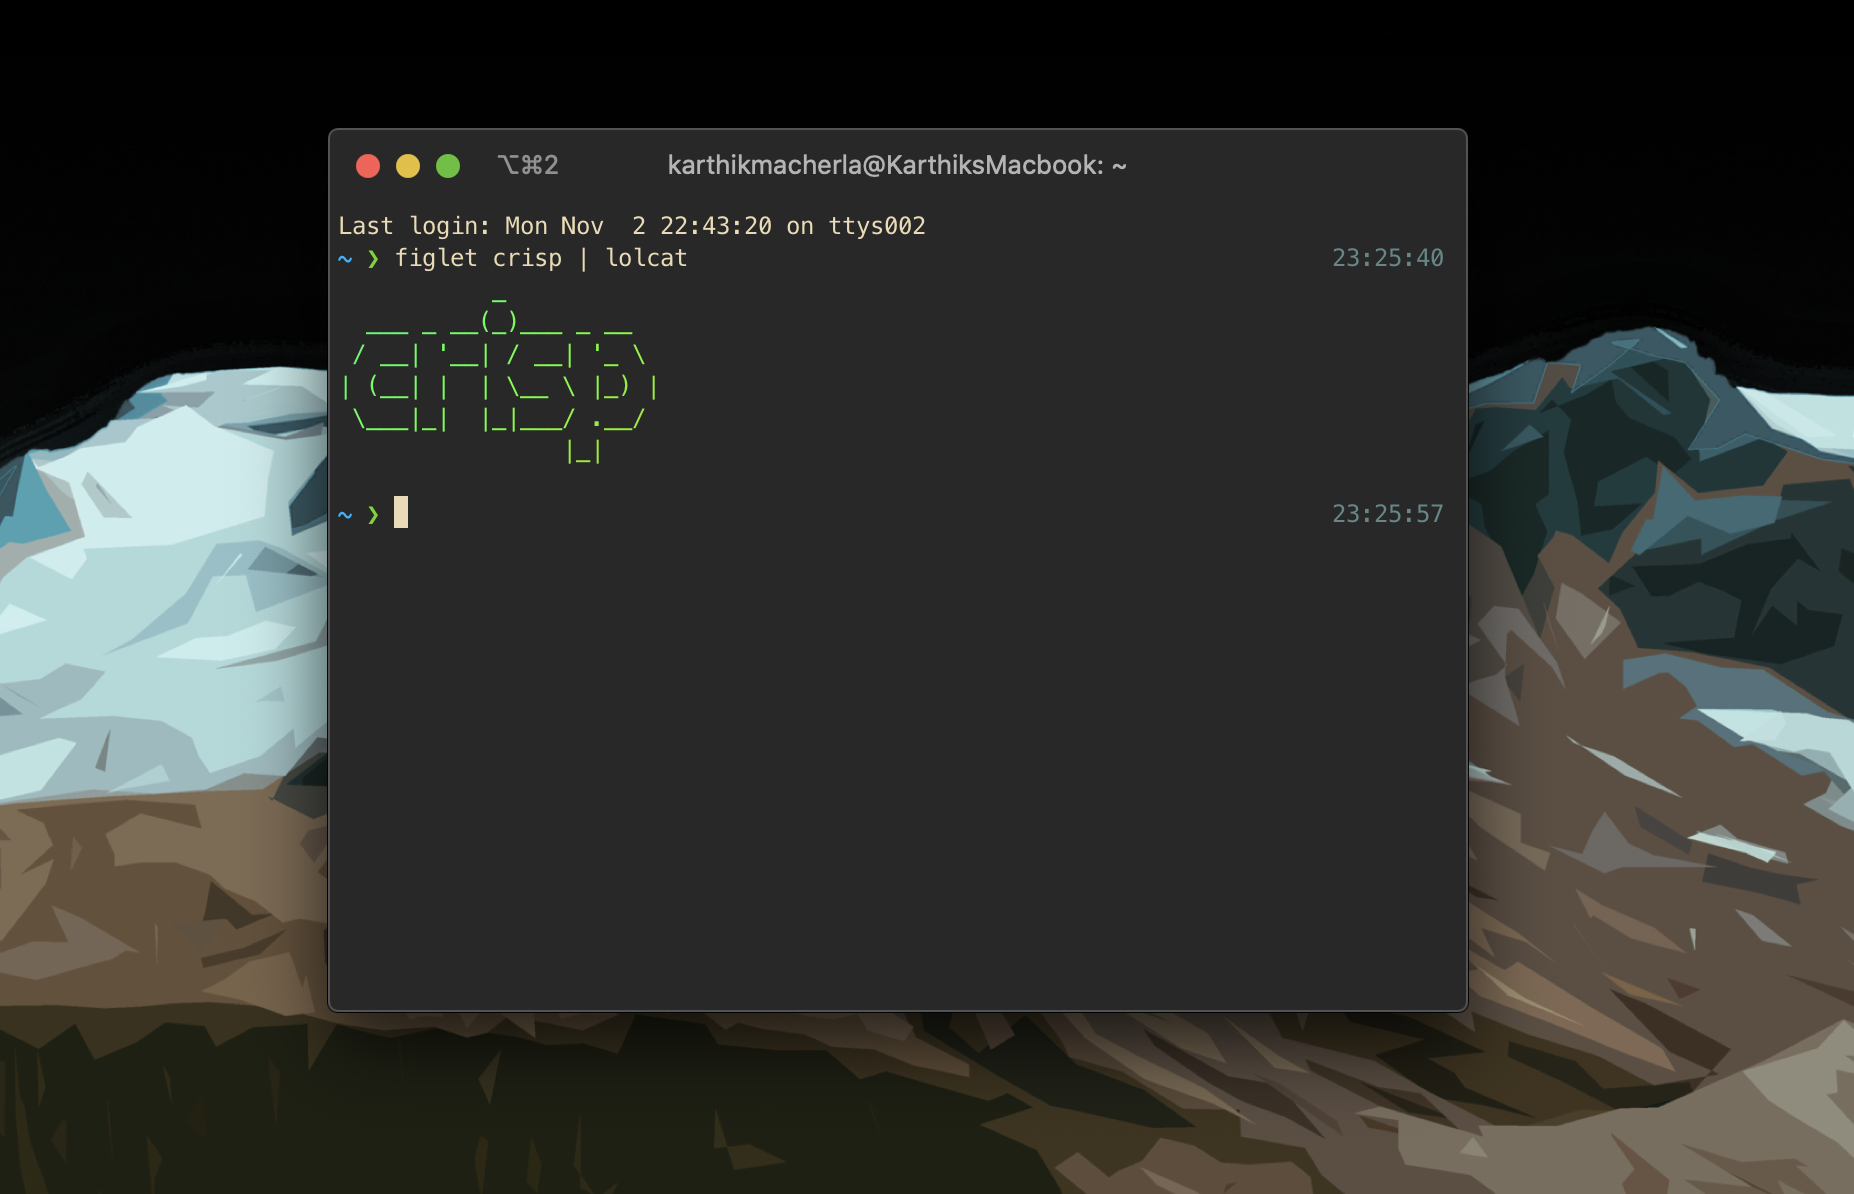
While most of the changes are really with respect to UI and other small hacks, the small stuff really adds up and I actually really enjoy using the terminal now even for normal stuff. Without further ado, here’s a quick set up tour, and a couple of immediate ways you can make your life super easy.
1. Download iTerm2
Download it right off of the site or even using Homebrew:
brew cask install iterm2
2. Download zsh
Zsh is an alternative to bash (which is the default shell in MacOS). The reason for the switch is that zsh has a really good open source community (it’s called Oh my Zsh) that gives a bunch of really cool shell plugins. Download zsh with:
brew install zsh
Additionally, to get the framework that manages zsh (and be able to get all of the cool zsh plugins), we need to download “Oh My Zsh”:
$ sh -c "$(curl -fsSL https://raw.github.com/ohmyzsh/ohmyzsh/master/tools/install.sh)"
This should in most cases, switch your terminal from bash to zsh automagically but if it doesn’t, simply enter this and restart your terminal.
chsh -s $(which zsh)
3. Download Powerlevel10k
At this point you have iTerm2, and Zsh, but everything looks kind of gross. To complete the process, and make your terminal look awesome, we can download a theme called Powerlevel10k. The instructions are also on their repo, but also here:
- Pull the git repo for powerlevel10k that fits with oh my zsh.
git clone --depth=1 https://github.com/romkatv/powerlevel10k.git ${ZSH_CUSTOM:-$HOME/.oh-my-zsh/custom}/themes/powerlevel10k
Open the file ~/.zshrc (get used to opening this file), and set the variable
ZSH_THEME="powerlevel10k/powerlevel10k".Restart your terminal and type
p10k configure. Choose the settings that make you the most happy!If you ever want to change, simply retype
p10k configureand update your theme.
4. Gruvbox
A cool dark color theme for iTerm2. Other good options are Solarized Dark.
Download from this git repo
Add the profile to your list of iTerm2 Profiles in iTerm2>Preferences>Profiles>+(in the bottom left corner)
Conclusions
Definitely do more research into zsh plugins and see what awesome hacks you can do to improve your terminal experience. For example, I like to alias a lot of the important folders I use day to day in my ~/.zshrc as follows:
alias 380="cd ~/Documents/PennSem5/CIS380"
Also, adding lines like these give you the ability to open sublime/vscode where you want in iterm:
export EDITOR='subl'
export EDITOR='vscode'
**Remember to save the file, and completely restart iTerm2 for changes to take effect.